

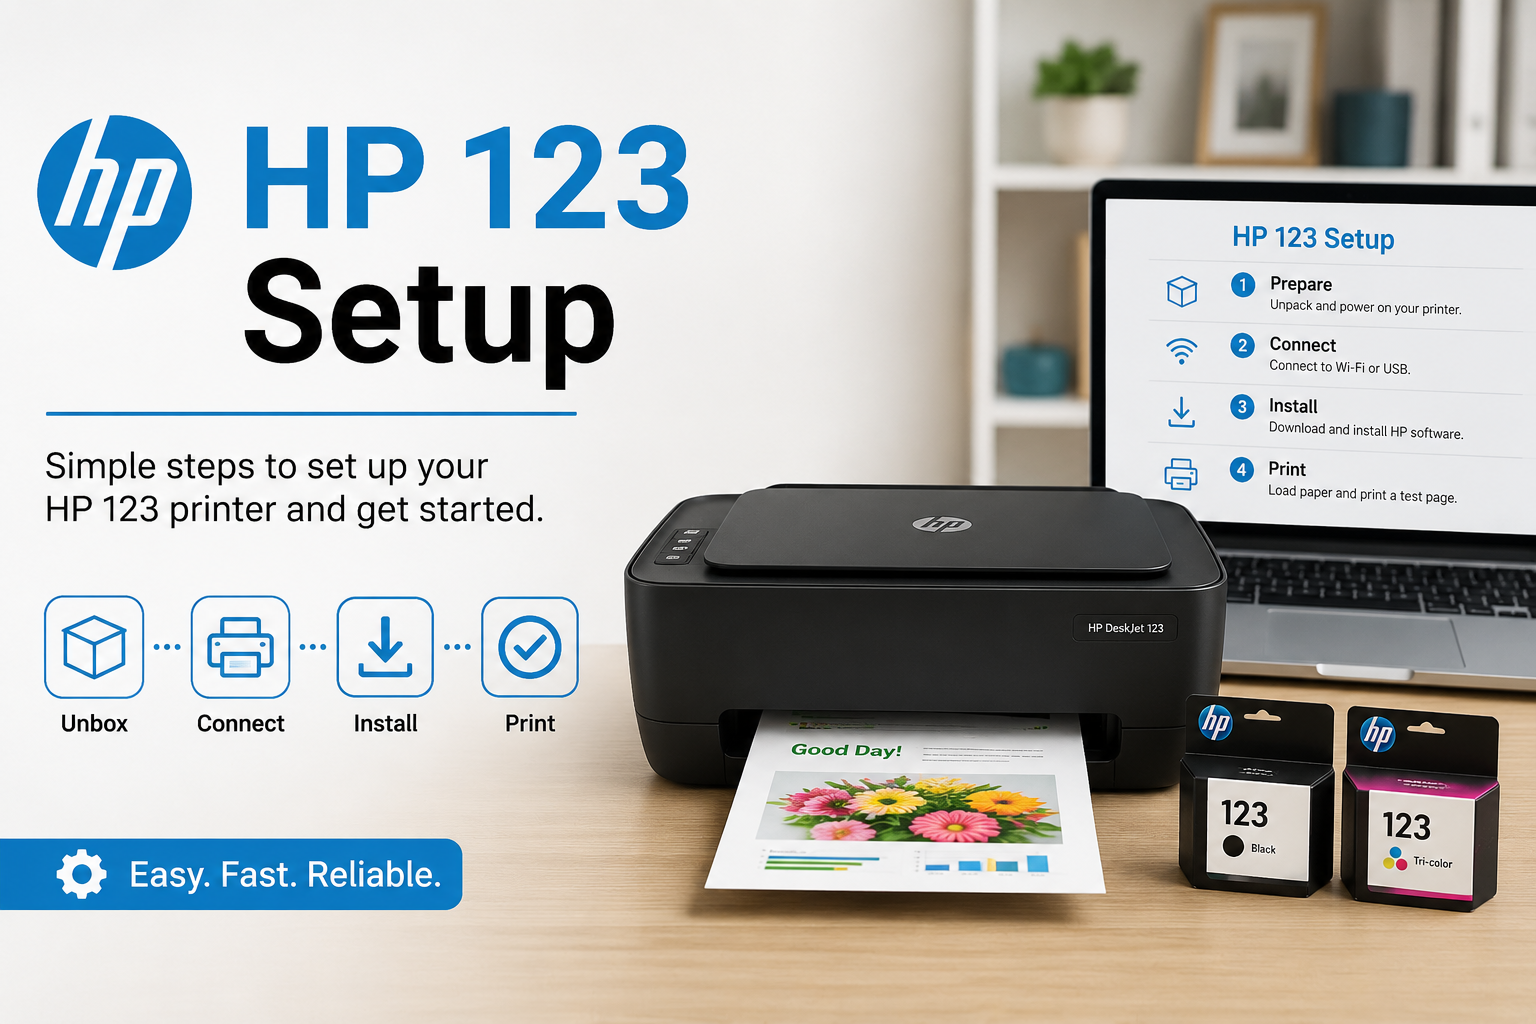
Setting up a new HP printer may seem difficult for first-time users, but with the right guidance, the process becomes simple and hassle-free. Whether you have purchased an HP DeskJet, OfficeJet, or LaserJet printer, understanding the complete installation process helps you start printing quickly. During the HP 123 Setup process, users need to connect the printer, install drivers, configure wireless settings, and perform a test print.
A proper setup ensures smooth communication between your printer and devices. Beginners often face issues such as network connection errors, driver installation failures, or printer detection problems. Fortunately, these challenges can be resolved with a few easy steps. This guide explains everything from unboxing to printing your first document, helping you complete the setup successfully without technical expertise.
What Should You Do Before Starting Printer Installation?
Before beginning the setup process, completing HP 123 Setup preparation steps can save time and prevent installation issues later. Preparing the printer and workspace ensures a smooth experience.
Follow these basic steps before installation:
-
Remove all packaging materials from the printer.
-
Place the printer on a flat and stable surface.
-
Connect the power cable securely.
-
Install the ink cartridges correctly.
-
Load plain paper into the input tray.
-
Keep your Wi-Fi network name and password ready.
-
Ensure your computer or smartphone is connected to the internet.
Taking a few minutes to prepare everything beforehand helps avoid interruptions during installation and makes the overall setup process easier and more efficient.
How Can You Connect Your HP Printer to Wi-Fi?
To establish a wireless connection, the HP 123 Setup process requires connecting the printer to the same Wi-Fi network as your computer or mobile device. Wireless printing offers convenience and flexibility.
Use these steps to connect your printer:
-
Turn on the printer.
-
Access the printer's Wireless Settings menu.
-
Select Wireless Setup Wizard.
-
Choose your Wi-Fi network from the list.
-
Enter the Wi-Fi password carefully.
-
Confirm the connection settings.
-
Wait for the wireless indicator light to remain steady.
After successful connection, the printer becomes available for wireless printing, scanning, and other tasks from connected devices on the same network.
How Do You Download and Install HP Printer Drivers?
For proper printer communication, completing HP 123 Setup includes downloading and installing the correct printer drivers on your device. Drivers allow the operating system to recognize and manage printer functions.
Follow these installation steps:
-
Visit the official HP support website.
-
Search for your printer model.
-
Download the recommended driver package.
-
Run the installer file.
-
Follow the on-screen instructions.
-
Select wireless or USB connection when prompted.
-
Complete the installation process.
Once installed, the driver enables access to printing preferences, scanning features, maintenance tools, and firmware updates necessary for optimal performance.
How Can You Add the Printer to Your Computer?
After installing drivers, the HP 123 Setup process continues by adding the printer to your Windows or Mac computer. This step ensures the device can send print commands correctly.
For Windows:
-
Open Settings.
-
Select Devices.
-
Click Printers & Scanners.
-
Choose Add a Printer.
-
Select your HP printer from the list.
For Mac:
-
Open System Settings.
-
Click Printers & Scanners.
-
Select Add Printer.
-
Choose your HP printer.
-
Complete the setup process.
Once added successfully, your printer becomes ready for printing documents, photos, assignments, and other files directly from your computer.
How Do You Print a Test Page Successfully?
To verify installation accuracy, the HP 123 Setup procedure should always end with a test print. This confirms that the printer, driver, and network connection are working properly.
Use the following steps:
-
Open Printer Properties.
-
Select the installed HP printer.
-
Click the Print Test Page.
-
Wait for the printer to respond.
-
Check print quality and alignment.
-
Confirm there are no error messages.
If the test page prints correctly, your printer is fully configured and ready for everyday use. Any issues detected during testing can be resolved before regular printing begins.
What Common Problems Can Occur During Setup?
While installing a printer, the HP 123 Setup process may occasionally encounter technical issues. Understanding common problems helps beginners troubleshoot quickly.
Some frequently reported issues include:
-
Printer not connecting to Wi-Fi.
-
Driver installation errors.
-
Printer not appearing on the device list.
-
Slow printing performance.
-
Offline printer status.
-
Paper jam notifications.
-
Ink cartridge recognition errors.
Most problems can be resolved by restarting the printer, reconnecting to Wi-Fi, reinstalling drivers, updating firmware, or checking printer settings. Keeping software updated also improves reliability and performance.
FAQs
1. How long does HP printer setup usually take?
Most HP printers can be installed within 15 to 30 minutes. The time depends on network configuration, driver installation, and device compatibility.
2. Can I complete setup without a computer?
Yes, many HP printers support setup using smartphones through the HP Smart app. Users can connect, configure, and print directly from mobile devices.
3. Why is my HP printer not connecting to Wi-Fi?
Incorrect passwords, weak signals, or router issues commonly cause connection failures. Restarting the printer and router often resolves the problem.
4. Do I need to install drivers for every device?
Yes, each computer generally requires the appropriate printer driver. Mobile devices may use apps instead of traditional drivers.
5. What should I do if the printer remains offline?
Check network connectivity, restart the printer, and verify that the correct printer is selected as the default device in system settings.