

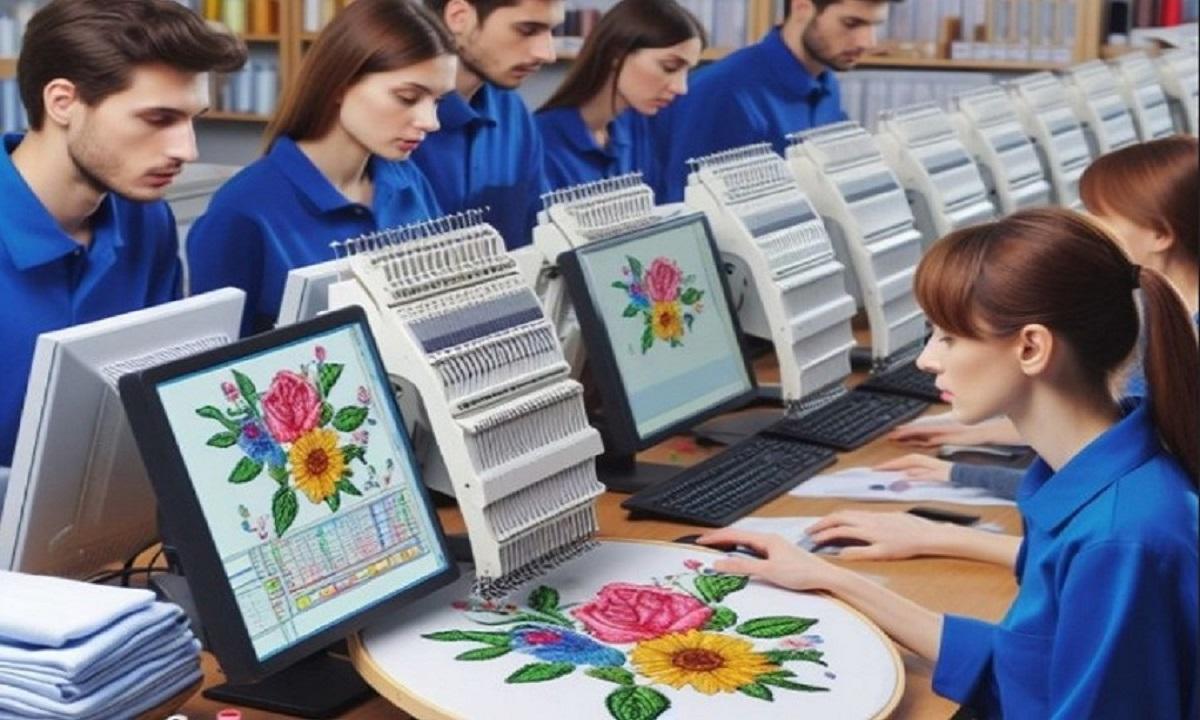
Turning art into stitch patterns is an exciting step for any embroidery user. A logo, drawing, or name can become a clean design for shirts, caps, bags, and gifts. But many beginners think the process is only about clicking one button. In truth, good results need planning, skill, and testing.When people start with Embroidery Artwork Digitizing, they often learn that not every image works well right away. Some art needs cleaning, resizing, or changes before it can stitch well. With the right steps, you can turn simple art into strong machine-ready files.
What It Means to Convert Art into Stitch Patterns
This process means taking a picture or design and changing it into a file your embroidery machine can read. The machine does not read normal image files the same way it reads stitch files.
Image Files Are Different
Common art files include:
-
JPG
-
PNG
-
SVG
-
PDF
These show pictures on a screen.
Stitch Files Are Different
Embroidery files tell the machine:
-
Where to stitch
-
Which color to use
-
Stitch type
-
Stitch order
-
Start and stop points
That is why artwork must be prepared the right way.
Why Good Setup Matters
A poor file can waste time, thread, and fabric. It may break thread or make rough edges.
Good Files Help You Get:
-
Clean lines
-
Better fill areas
-
Less thread breaks
-
Faster runs
-
Happy clients
A strong file saves stress later.
Start with Clean Artwork
Good art gives better stitch results. Bad art causes extra work.
Best Types of Artwork
Use clear and sharp designs with solid shapes.
Good choices:
-
Vector logos
-
Bold text
-
High-quality PNG files
-
Simple line art
Avoid Low Quality Images
Try not to use:
-
Blurry photos
-
Tiny screenshots
-
Pixel images
-
Very busy art
These often need more editing first.
Keep the Design Simple
Many beginners want every small detail stitched. That can cause problems.
Why Simpler Is Better
Machines use thread, not ink. Very tiny details may not show well.
Smart Changes to Make
-
Remove tiny dots
-
Merge small shapes
-
Use bold lines
-
Limit fine text
-
Reduce extra colors
Simple art often looks better when stitched.
Choose the Right Size First
Size changes how the file should be built.
Small Designs Need Care
Small chest logos need wider lines and less detail.
Large Designs Need Balance
Big back designs need smart fill and stitch path.
Tip from Real Use
Do not digitize first and size later if the size change is large. Build the file for the final size when possible.
Pick the Right Stitch Types
Different parts of art need different stitches.
Satin Stitch
Good for:
-
Borders
-
Names
-
Clean letters
-
Narrow shapes
Fill Stitch
Good for:
-
Large areas
-
Big shapes
-
Solid logos
Run Stitch
Good for:
-
Detail lines
-
Travel paths
-
Fine borders
Using the wrong stitch type can make the design weak.
Think About Stitch Order
Order matters more than many new users know.
Good Order Helps With:
-
Clean overlap
-
Less trims
-
Better shape hold
-
Faster machine run
Common Order Plan
-
Background fills
-
Mid shapes
-
Borders
-
Fine detail
-
Top text
This is not always exact, but it is a strong start.
Use the Right Density
Density means how close stitches sit together.
Too Much Density Causes:
-
Thick feel
-
Needle breaks
-
Thread breaks
-
Puckering fabric
Too Little Density Causes:
-
Gaps
-
Weak look
-
Poor cover
Testing helps find the sweet spot.
Add Underlay for Support
Underlay is a hidden base stitch under the top thread.
Why It Helps
-
Holds fabric
-
Lifts top stitches
-
Improves shape
-
Adds clean finish
Many weak files skip good underlay.
Watch Pull and Push
Fabric moves during stitching. This can change shape.
Pull
Thread tension can pull shapes inward.
Push
Stitches can push edges outward.
Why It Matters
Letters may close up. Circles may turn oval. Borders may shift.
Good digitizers adjust for this in advance.
Choose Thread Colors Wisely
Screen colors and thread colors can look different.
Smart Color Tips
-
Use thread charts
-
Test on fabric
-
Check in bright light
-
Avoid too many shades
Bold contrast often gives better results.
Match File to Fabric
One file may not work the same on every fabric.
Stable Fabric Examples
-
Twill
-
Canvas
-
Denim
These are easier for beginners.
Stretch Fabric Examples
-
T-shirts
-
Knits
-
Sports wear
These need better stabilizer and smart settings.
Test Before Final Production
Never trust a file only on screen.
Always Stitch a Sample
Use fabric close to the real item.
Check These Points
-
Clean edges
-
Good color order
-
No gaps
-
No thread breaks
-
Good shape
-
Nice backing look
Testing saves money.
Common Beginner Mistakes
Many users make the same errors early on.
Auto Convert Only
Some software has auto tools. They help, but often need manual fixes.
Too Much Detail
Small logos with tiny art can fail fast.
Wrong Needle
A bad needle can damage thread and fabric.
No Stabilizer Test
Wrong backing can ruin a good file.
Ignoring Letter Size
Tiny text is hard to stitch cleanly.
Best File Types to Save
Each machine uses its own file types.
Examples:
-
PES
-
DST
-
JEF
-
EXP
Know what your machine needs before saving.
Tools That Help Beginners
You do not need every tool at once.
Good Starter Tools
-
Digitizing software
-
Sharp scissors
-
Thread chart
-
Test fabric
-
Hoops
-
Good stabilizer
Simple tools plus practice go far.
Learn from Real Practice
I have seen clean logos fail because the art looked good on screen but was too small for thread. I have also seen simple logos stitch great because they were built with smart settings.
Many new users blame the machine. But often the real issue is the file. When stitch path, density, or underlay is wrong, problems begin.
That is why testing and learning matter so much.
How to Improve Fast
Practice Weekly
Convert one small design each week.
Compare Results
Keep old samples and new samples.
Study Good Files
Look at clean files from trusted sources.
Take Notes
Write what worked on each fabric.
When to Hire a Pro
Some jobs need expert help.
Good Times to Outsource
-
Big logo orders
-
Tiny left chest logos
-
Cap designs
-
Rush jobs
-
Complex art
A pro file can save more money than it costs.
Trustworthy Tips for Better Results
Use Good Source Art
Clean art gives clean files.
Keep Text Readable
Choose bold fonts when small.
Limit Color Changes
Less stops can mean faster runs.
Maintain Your Machine
Even great files need a healthy machine.
Simple Workflow for Beginners
-
Get clear artwork
-
Set final size
-
Clean the art
-
Choose stitch types
-
Add underlay
-
Set density
-
Plan stitch order
-
Save machine file
-
Test stitch
-
Adjust and run final job
Use this flow each time.
Final Thoughts
Converting art into ready stitch patterns is both skill and craft. It takes more than software. You need clean artwork, smart settings, and real testing. Start simple. Use bold designs. Learn stitch types. Match the file to the fabric.
Do not rush the process. Each sample teaches something new. With time, your files will run smoother, look cleaner, and save more time. That is how beginners grow into trusted embroidery experts.